How to password protect a folder on Windows and MacOS
In this digital age, few things are as important as keeping your information protected. One of the first steps to securing your information is storing it in a password-protected folder. Unfortunately, neither Windows nor MacOS offer this protection as a standard. In this guide, we are going to help you safeguard your sensitive data through password protection on your folders. Our step-by-step guides for Windows and MacOS will easily walk you through the process, providing you both security and peace of mind.
Note: If you ever need help remembering passwords, consider one of the best password managers.
Windows 10 Pro folder encryption
If you’re running Windows 10 Pro, there is a built-in protection system, though it’s not the most fully featured. Windows 10 Pro’s basic encryption offers file obfuscation that locks a file to your account. That way, if someone on another account or someone who copied your files away to another PC tried to access your content, they’d need to know your account password (which better not be one of the most common passwords).
Anyone using your PC and account would still have access, however.
Step 1: Right-click on your chosen file and select Properties from the drop-down menu.
Step 2: Click Advanced.
Step 3: Tick the box next to Encrypt contents to secure data and click OK.
Step 4: Click Apply and when prompted, choose whether you want all folders within that directory to be encrypted, or merely the top-level one. When you’ve decided, click OK.
Depending on the size and contents of the folder, it may take a while to complete, but once it’s done, your data will be encrypted and protected from the prying eyes of anyone on another account or system. You can tell that it’s worked by the little padlock symbols now on each file within. Your files are now password protected by your account.
Password protecting Windows folders with 7-Zip
While Windows 10 Pro might have some protections, most versions of Windows are utterly devoid of any folder-specific security. For most Windows users, adding a password to a folder requires a third-party archiving utility or some form of compression software. Options include 7-Zip, an open-source zip compression utility that’s readily available for free courtesy of Russian developer Igor Pavlov. It does a great job of password-protecting your more important data.
You’ll be required to decompress the folder before use, but that’s a small price to pay for security.
Step 1: Navigate to the 7-Zip download page and select the right download for you. Most users should opt for the 64-bit x64 Windows build. Once downloaded, install it as you would any other software and run it.
Step 2: Locate the folder you wish to password protect within the main 7-Zip interface and click the green addition sign in the upper-left corner of the application. Alternatively, drag and drop the folder anywhere within the main 7-Zip interface.
Step 3: Ignoring the bulk of presets in the resulting pop-up window, select zip from the drop-down menu directly beside the Archive format option to ensure the folder remains compatible on computers without 7-Zip installed. Then, enter and re-enter your desired password for the folder in the text fields located on the right-hand side of the window. Click the OK button when finished and allow the utility to create a compressed, encrypted duplicate of the folder you wish to password protect.
Step 4: Once the password-protected zip file has been created, test it to make sure that it’s working correctly by trying to access any of the content held within. Once you know it’s properly protected, delete the original folder so it can no longer be accessed. There’s no need to have two instances of the same data, especially since the original folder will remain unprotected.
Adding password protection to folders in MacOS
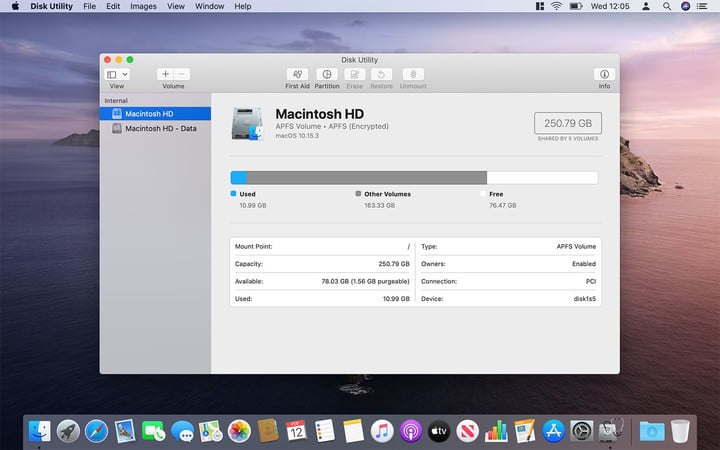
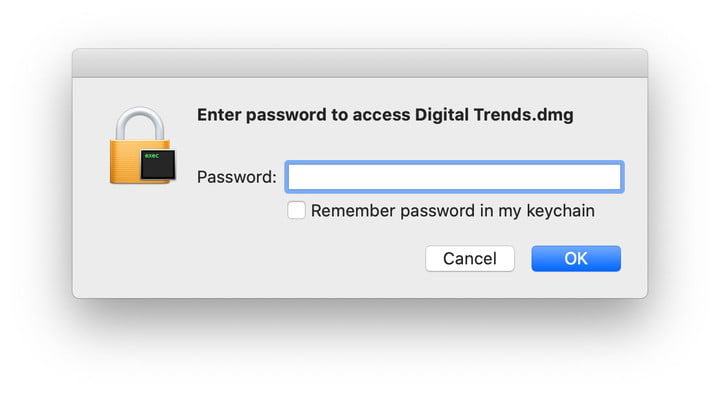
Like most versions of Windows, Apple’s MacOS lacks the native ability to add password protection to folders, but what you lose in convenience, you definitely gain in security just don’t forget an antivirus. Adding a rudimentary password will require you to create an encrypted disk image through the operating system’s native Disk Utility an app that comes pre-installed on nearly all Mac devices. Once created, you’ll be able to access the folder as a mounted virtual disk, which will allow you to edit, add, and delete content after entering a designated password. Any changes you make while the disk is mounted will automatically become both encrypted and password-protected upon dragging the disk to the Trash.
Step 1: Navigate to Disk Utility within the Applications folder, or search for the application using Spotlight. When found, launch the app.
Step 2: Click File in the application toolbar, select New Image from the resulting drop-down menu, followed by Image from Folder. Then, find the folder you wish to password protect, highlight it, then click the Choose button in the bottom-right corner of the window.
Step 3: Once you’ve tagged and named the chosen folder, select read/write from the Image Format drop-down menu, followed by 128-bit AES encryption from the Encryption drop-down menu.
Step 4: You will now be prompted to give your folder a password. Enter one, then click Choose. Once you’re finished, click Save. Disk Utility will create the password-protected image, and tell you when it’s done.
Step 5: Once the password-protected disk image has been created, make sure it works as intended by trying to access its content. Once it’s confirmed to be protected as intended, delete the original folder so it can no longer be accessed.


