How to Connect a PS4 or Xbox Controller to Your iPhone or iPad
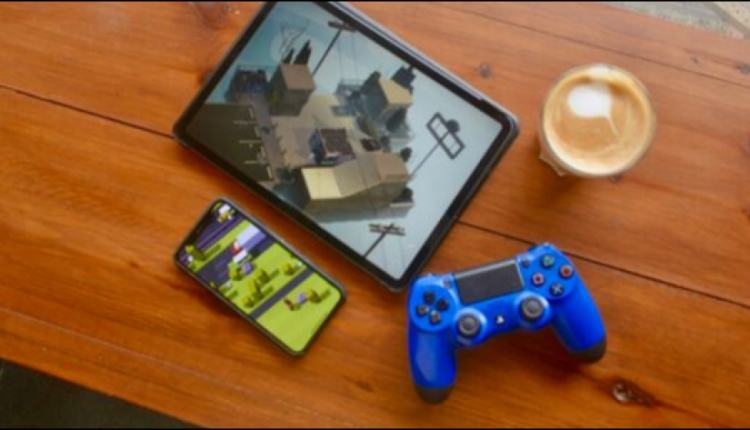
iOS 13 and iPadOS 13 open up the world of iPhone and iPad gaming to the two most popular game controllers. You can now connect a PS4 or Xbox One S controller directly to your device and instantly start playing any game that supports controllers.
Supported Models
iPhone and iPad previously supported game controllers, but they had to be certified using the MFi (Made for iPhone) program. The options were severely limited, expensive, and not that great.
iOS 13 and iPadOS 13 are adding support for more wireless controllers, but the system is not open for all Bluetooth-based wireless controllers. Only PS4 Dualshock 4 and Xbox One controllers are currently supported. The Nintendo Switch Pro Controller doesn’t work.
There are a couple of Xbox One controllers in the wild. Apple currently supports only model 1708, which is the Xbox One S controller (the original Xbox One controller doesn’t work). Most PS4 Dualshock controllers are supported (except for the CUH-ZCT1U model that shipped with the original PS4 back in 2013).
The easiest way to check if your controller is supported is by, well, connecting it to your iPhone or iPad.
How to Connect PS4 and Xbox Controller to iPhone and iPad
You can pair a controller to your iPhone or iPad using the Bluetooth section in the Settings app. Open the “Settings” app on your iPhone or iPad and then tap on the “Bluetooth” option.
Here, make sure the Bluetooth feature is enabled and in discovery mode.
Now, let’s put your controller in pairing mode. If you’re using a PS4 Dualshock 4 controller, press and hold the “PS” and “Share” button together until the light at the back of the controller turns white and starts blinking rapidly.
If you’re using an Xbox One S controller, press and hold on the “Pairing” button at the back of the controller. If this is the first time you’re pairing the controller with any device, you should instead press and hold the “Xbox” button.
Now, the PS4 or Xbox controller will show up in the “Other Devices” section. Tap on it and the controller will be paired and connected to your iPhone or iPad.
How to Disconnect and Unpair the Controller
You can quickly disconnect the controller using the new expandable Bluetooth menu from Control Center.
On your iPhone or iPad, swipe down from the top-right corner of the screen to open Control Center. If you’re using an iPhone with a Home button, swipe up from the bottom of the screen instead.
Next, press and hold on the “Toggles” panel.
Here, tap and hold on the “Bluetooth” button to expand the menu.
Find the paired controller and tap on it to disconnect. You can go back to the same menu and tap on the controller to connect to it again.
To unpair a controller, you’ll have to go to the “Bluetooth” menu in the “Settings” app. Here, locate the controller and tap on the “i” button next to it.
From the menu, tap on “Forget This Device” to unpair.
How to Play Games with the Controller on Your iPhone and iPad
Controller support on iOS and iPadOS has been around for many years, so a lot of popular games already support it. Once you connect the controller, go to whichever game’s settings page to check if you can switch to the controller mode.
If you’re playing games from Apple Arcade, the controller will be activated automatically when you launch the game. Apple Arcade games also highlight controller support for a game right at the top of the listing.
Controller support is just one of the new features in iOS 13. Once you’ve paired your controller with your iPhone or iPad, you should enable the dark mode to make those late-night gaming sessions easier on the eyes.


