
How to Install and Use Brushes in Adobe Illustrator
Brushes can be a means to create complex designs more simply or speed up your design creation process. Often designers create their own brushes, but sometimes you just want to get an effect or style you need quickly and may download stock brushes from websites like GraphicRiver. Let’s break down how to install and use brushes to make the most of this fantastic feature!
1. Downloading and Using the Brush File
Step 1
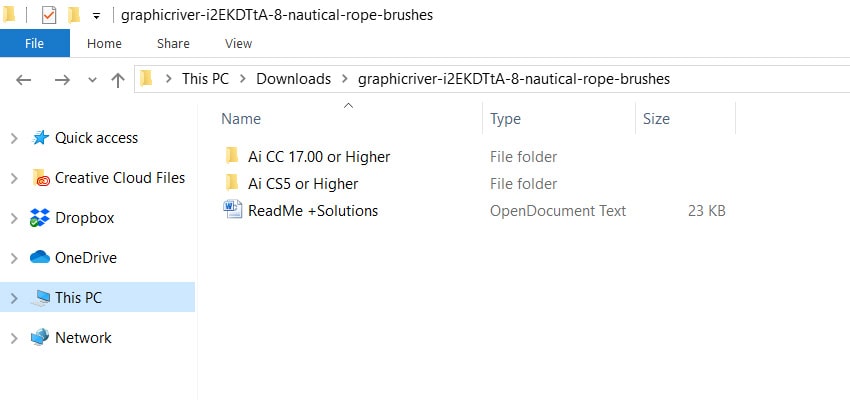
Let’s start with a freshly downloaded Zip folder. For the purposes of this tutorial, I’ll be using these Nautical Rope Brushes from GraphicRiver.
Locate your download on your machine and Extract its contents. Do so on a Mac by double-clicking. Do so on a Windows machine by right-clicking and hitting Extract All.
Your brush files may vary, but these have files for both Adobe Illustrator CS5 and higher, and Adobe Illustrator CC and higher. In the case of this file, the brushes are in an .AI file.
Step 2
Open the .AI file in Adobe Illustrator CC. Open the Brushes panel and you’ll find your new brushes are already loaded and ready for use.

Step 3
Draw a path with the Ellipse Tool (L) and apply one of the brushes from the Brushes panel in order to check out the brush pack. Take the Paintbrush Tool (B) for a spin too, and see how the brush handles a variety of angled and curved paths.
If you want to use these brushes in other documents, you’ll have to save the brushes file. Let’s do that now!

2. Saving the Brush Library
Step 1
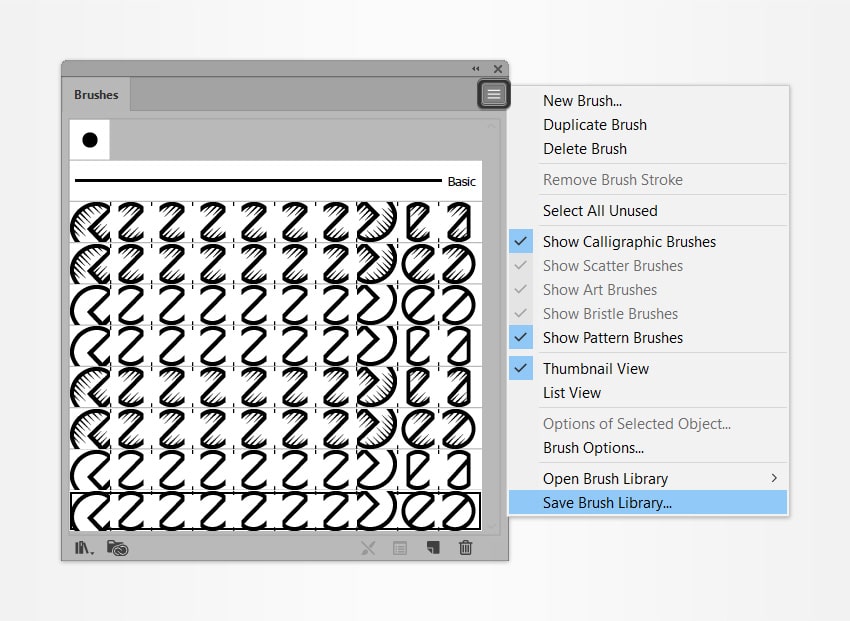
Under Options in the Brushes panel, select Save Brush Library… You’ll be able to save your brush library anywhere on your machine. I like to keep things organized, and rather than saving it in the default hidden folder, let’s navigate to our preset brushes folder.
If you’re on a Mac, you’ll want to head over to Applications/Adobe Illustrator CC 2015/Presets/Brushes/, and if you’re on a Windows machine you’ll want to head over to C:Program FilesAdobeAdobe Illustrator CC 2015Presetsen_USBrushesNew Brushes. These are the default preset folder locations. If you’ve made changes to where and how Adobe files are stored on your computer, your locations may differ.
Step 2
Create a New Folder in your preset brushes folder. Mine is named New Brushes, and this is where I’ll be saving my brush libraries for easy navigation and retrieval in the future.

Step 3
Now when you select Open Brush Library from the Brushes panel options, you’ll see your new folder amongst the other preset folders and can load that brush library into any of your documents. You can also save brush libraries in any of the other preset folders. How you organize your program, files, and computer is entirely up to you.

3. Editing the Brushes
Step 1
Draw a shape or path with a drawing tool from the Toolbar and apply one of the brushes from your Brushes panel.

Step 2
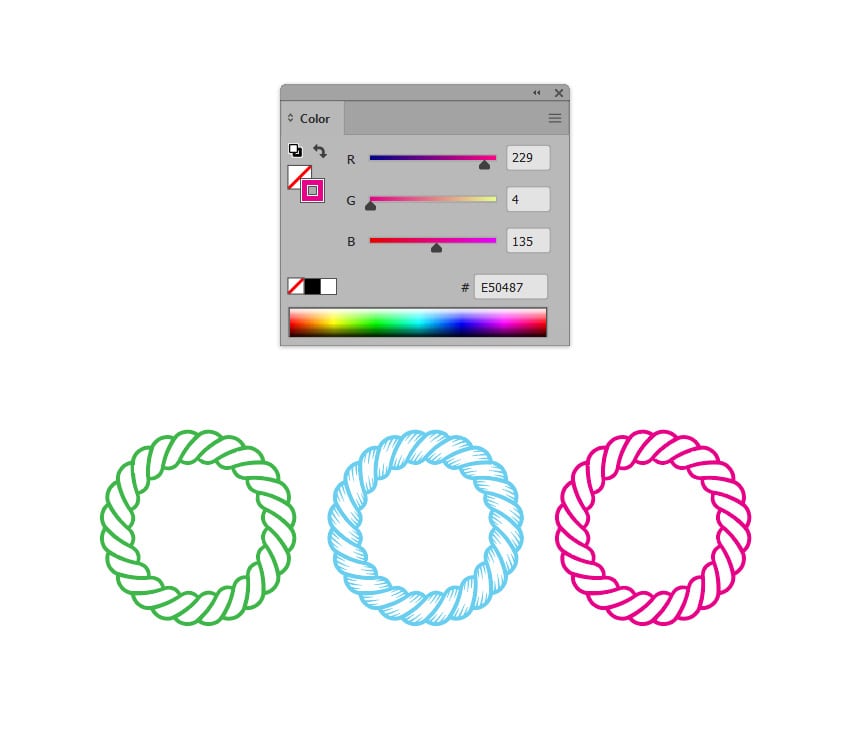
Select any of your paths and change the Stroke color in the Color panel. Much like changing the stroke color of any simple stroked path, you can also double-click on the Stroke in the Toolbar in order to open up the Color Picker and change the color from there.
Step 3
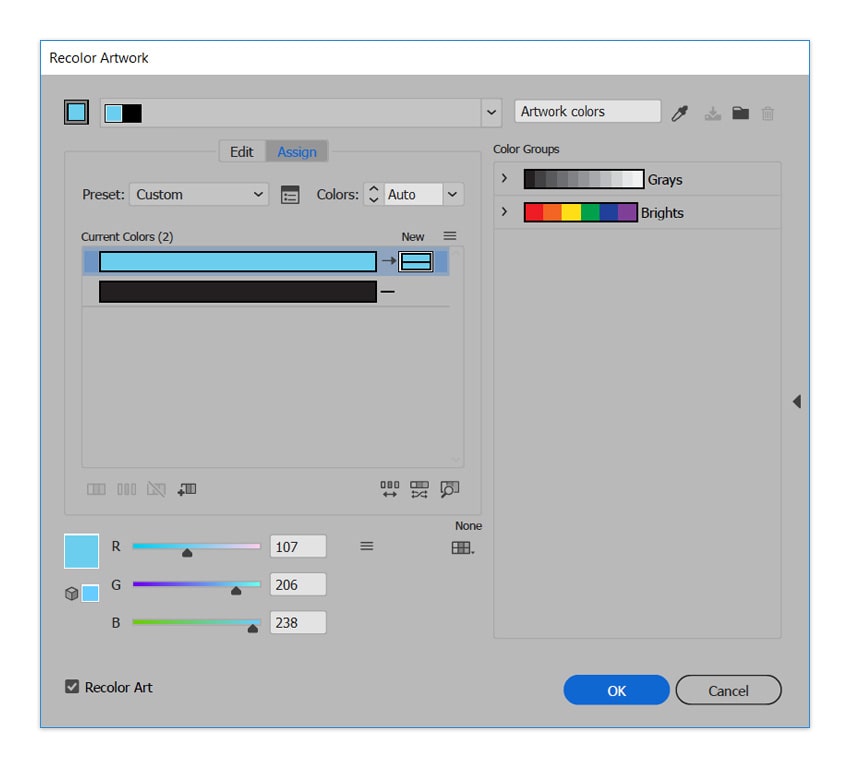
For more complex brushes, you can use the Recolor Artwork option. Select your path and go to Edit > Edit Colors > Recolor Artwork. Depending on how complex your brush’s artwork is, you’ll have the option of changing the current colors to whatever you want.
Step 4
Another quick and easy change is Stroke Weight. You can do this in the Stroke panel. Note the difference in this brush in 1 pt, 2 pt, and 3 pt weights.

Step 5
Finally, for further editing, Expand the brush stroke under Object > Expand to easily apply gradients and other effects to the brush as an object. In order to more easily apply the Radial Gradient seen below, I also United the newly expanded objects in the Pathfinder panel in order to create a compound object.

Great Job, You’re Done!
Well done! In this quick tutorial we downloaded and loaded up a brush library file. We also learned how to organize our brush library and how to edit brushes within Adobe Illustrator. With these simple instructions, you’ll be able to use and modify most any brush library you may be using, whether it’s something you made yourself or not.

Vector Brushes From Envato Market
Cut out the hassle of creating Illustrator brushes from scratch. Explore our amazing collection of Illustrator brushes from GraphicRiver to create your own designs!
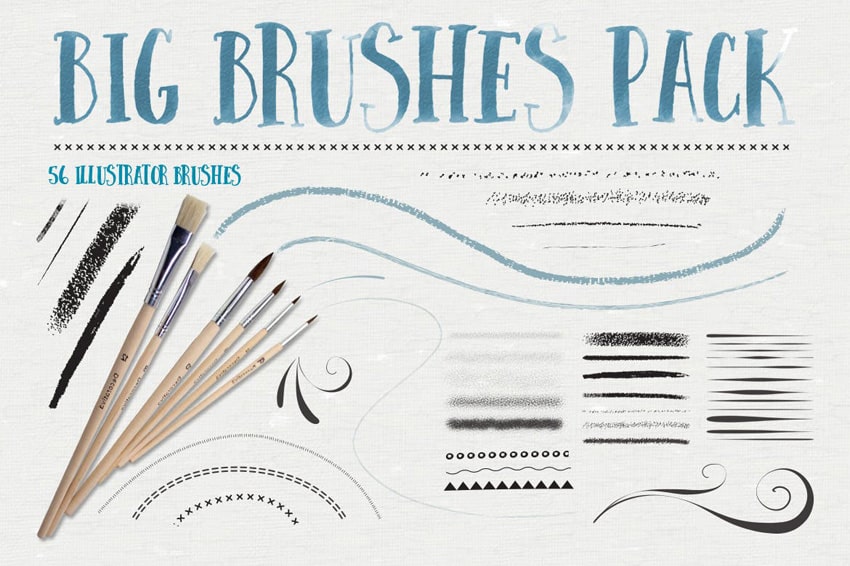
Big Illustrator Brushes Pack
A set of 56 varied illustrator brushes, including stipple brushes, chalk and pastel, ink, flourish, patterns and more. Also includes four distressed stipple seamless vector swatches, an Illustrator swatch file, and EPS CS4 tiles.
Shader Brushes for Illustrator
You get to work with 28 brushes included in the set, divided into four groups with their own distinctive features and purposes. The first one adds a wrought look to any picture, giving it messy hatches. Shader brushes speak for themselves, adding authentic imagery by darkening the chosen areas. When the turn comes to edge brushes, your project obtains the middle ground between an artistic distortion and a clear line. The group of noise brushes serves as a nice supplement for providing your project with vintage looks. Discover 12 textures as a bonus to wrap up your composition before revealing it to the world. Create ingenious illustrations, commercials, posters, logotypes—anything this set can inspire you for!

172 Illustrator Pencil Brushes
You’ll get a library of 172 pressure-sensitive pencil brushes for Adobe Illustrator CS6 or higher. They are based on actual graphite pencil strokes; as such they have varying degrees of texture (and also grunginess) and thickness. There are brushes to suit different path lengths.

Easy Hair Brushes for Adobe Illustrator
17 Easy Hair Brushes for use in Adobe Illustrator. Create quick hairstyles with the use of a collection of Scatter and Art Brushes. They can be used to create silhouetted hair, black and white, grey scale, monochrome, colored and even realistic styled vector hair!

Hand-Painted Vector Brushes
14 hand-made, multi-colored vector brushes. Each brush was made from a real paintbrush stroke, making them perfect for adding a hand-painted finish to your designs and illustrations.
